I like writing. I also like not being glued to a screen 24/7. So I started adding audio versions to my blog posts.
Not the “robot voice reads my CSS” kind. I mean audio that’s actually pleasant to listen to, and doesn’t ignore accessibility basics like image descriptions.
Here’s the exact workflow I use, end to end.
What you’re building
A pipeline that looks like this:
Write the blog post
Add images and write alt text (so the content still makes sense without visuals)
Generate a narration-ready script with ChatGPT (adapted for speech)
Create the audio in ElevenLabs Studio (Text to Speech)
Embed the audio in Framer manually (on purpose)
Step 1: Write the blog post normally, but keep it speakable
Write for reading first, yes. But don’t write like you’re trying to win a “Longest Sentence” award.
A few things that make audio smoother:
Keep paragraphs short. Audio listeners can’t “scan” like readers do.
Avoid stacking three ideas into one sentence.
If you use acronyms, define them once. Out loud, “GA4” can sound like a sneeze.
If the post is very technical, that’s fine. Just don’t punish people for caring.
Step 2: Add images, then write alt text that’s actually useful
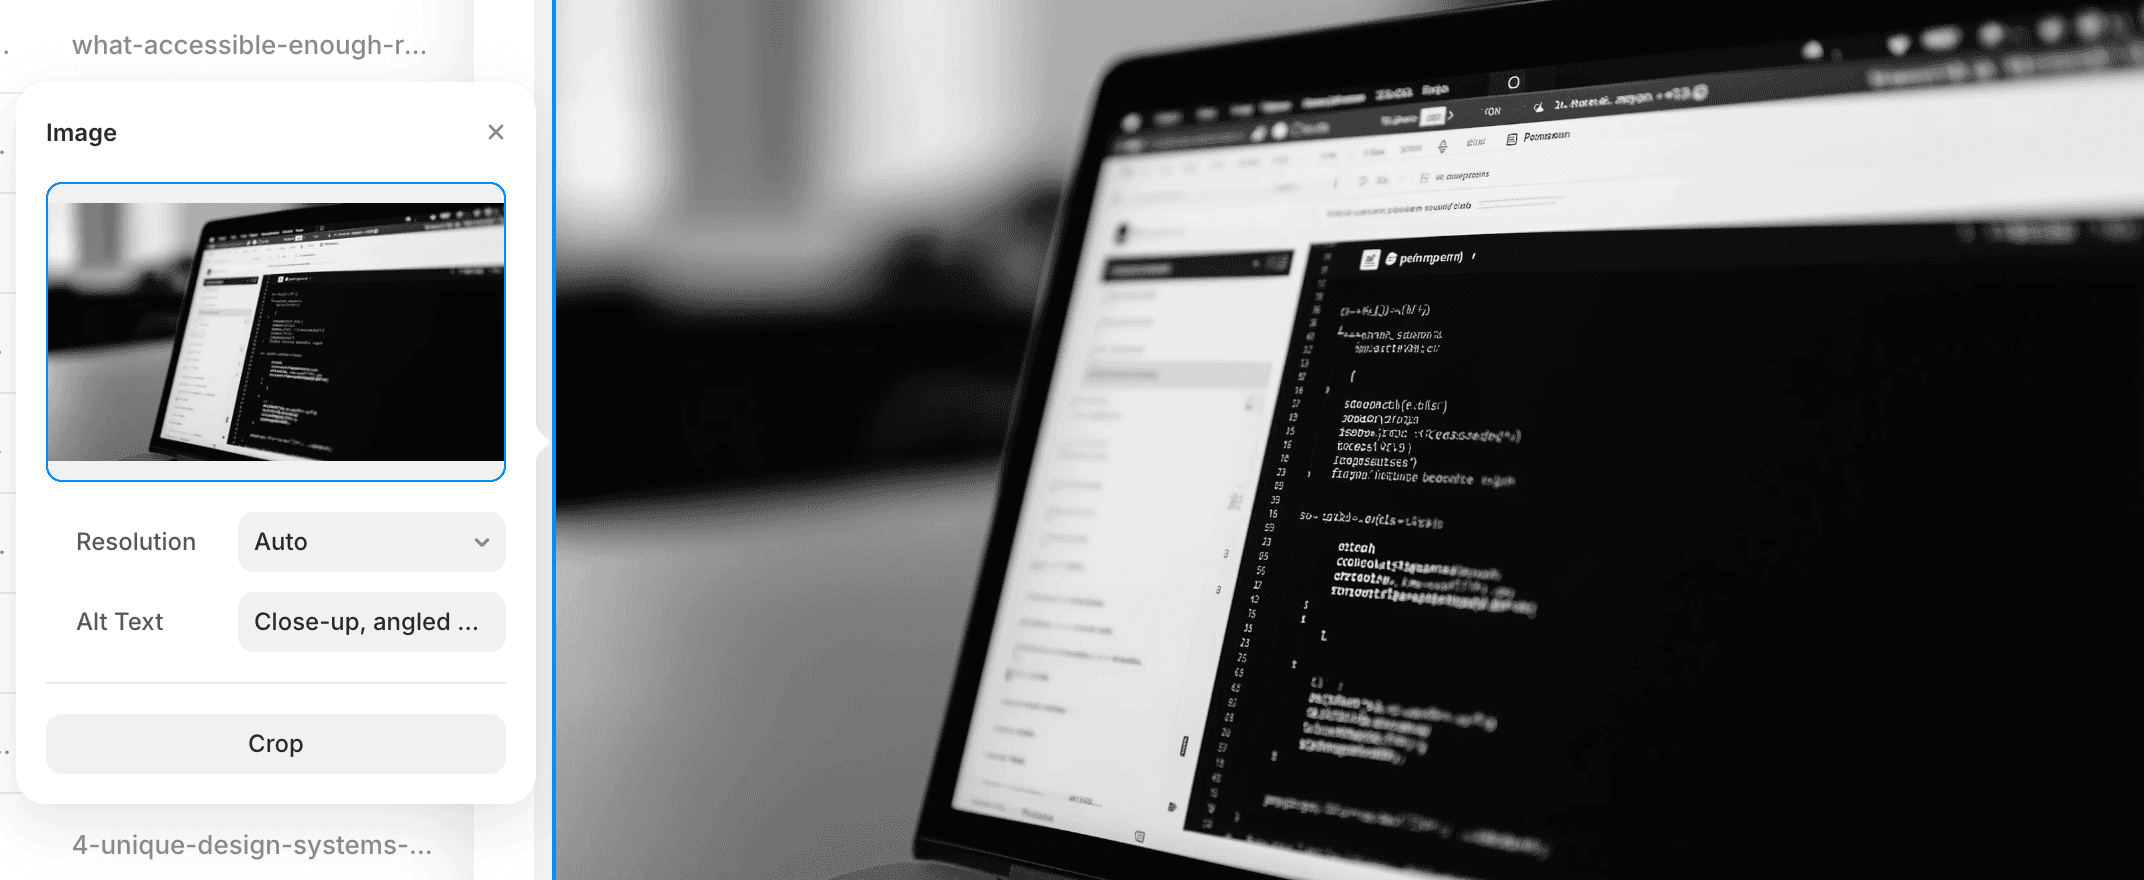
Alt text is not decoration. It’s the stand-in for the image when someone can’t see it.
My rule is simple: write alt text like you’re explaining the image to a friend, and you want them to understand why it’s in the post.
Bad alt text:
“Laptop”
Better alt text:
“Image settings panel with an “Alt Text” field being filled in, next to a preview of a laptop photo showing a dark-theme code editor.”
If an image is purely decorative, say so (or leave alt empty depending on your CMS). If it’s carrying information, describe the information.
Step 3: Convert the post into a narration script (this is the secret sauce)
A blog post is not a voice script. If you paste your post into TTS as-is, you’ll get audio that sounds… like someone reading a blog post.
When I adapt a post for narration, I change three things:
Links
No one wants a voice reading a URL. It’s audio torture.
Instead of raw links, I use a short spoken description like:
“There’s a link to Framer’s documentation about structured data.”
Code blocks
Never read code out loud. Nobody wins.
Replace code with 1–2 sentences explaining what it does and why it’s there.
Example: “This CSS hides the last card in the list, so the UI doesn’t duplicate the user’s current selection.”
Images
For each image, I insert a spoken line right where the image appears, something like:
“In this article, there’s an image of…” followed by a short description based on the alt text.
That keeps the narration coherent for people who are only listening.
Step 4: Generate the script with ChatGPT 5.2 (my folder setup)
I use ChatGPT 5.2 on the Pro plan, and I keep things organized using Projects.
I create one folder per blog post, and inside it I keep:
Final blog text
Image list + alt text (in order)
The prompt template
The final script output
This makes the workflow repeatable, and it keeps me from “prompt improvising” my way into inconsistency.
Prompt template (paste this into ChatGPT)
You are an "Audio Script Adapter" for blog posts.

Goal:
Turn a blog post into a Text-to-Speech friendly script that sounds natural when read aloud, stays close to the original meaning, and is accessible for listeners who can't see images or videos.

Critical rule:
You MUST respond in the same language as the blog post you are adapting (detect it from the input). The instructions you are reading now are in English, but your output language must match the blog post.

Input you will receive:
1) The full blog post text (may include headings, bullets, code blocks, image placeholders, and links).
2) Optional media hints (alt text, captions, video title/duration, screenshot context).
3) Optional "link context" (anchor text + one-sentence description, if provided).

Output requirements:
- Output ONLY the final audio script in a single plain-text block wrapped in triple backticks for easy copy/paste.
- Do NOT add commentary, explanations, or extra sections outside the script.
- Keep the content very close to the original. Only change what's necessary to make it sound good out loud and to handle media, code, and links.

Style rules (TTS-friendly):
- Use short-to-medium sentences. Prefer natural spoken rhythm.
- Keep paragraphs short (1 to 4 sentences).
- Avoid reading punctuation-heavy fragments, long parentheticals, or overly "written" structures.
- Expand or clarify abbreviations on first use (example: "User Interface, UI").
- When you see numbers, dates, units, or symbols, rewrite them in a way that reads well aloud (example: "eight pixels", "three minutes and sixteen seconds", "iOS seven").
- If there are bullet lists, keep them, but convert them into spoken-friendly phrasing (example: "Try them on: first..., second...").
- Do not include emojis.

Images and videos (must be handled like narration for a non-visual audience):
- Never say "Image 1", "Image 2", "Video 1", or "visual description".
- Instead, each time an image appears, write a sentence starting with:
  "In the article, there is an image of..."
  Then describe it clearly and concretely, as if you're describing it to someone who can't see it.
- Each time a video appears, write a sentence starting with:
  "In the article, there is a video..."
  Include what the video is about, and if available, its title and duration.
- Use any provided alt text, captions, and surrounding context to make the description accurate.
- Keep each media description concise: usually 1 to 3 sentences. Only get more detailed if the image contains key information.

Code blocks (must NOT be read aloud):
- Do not output code verbatim.
- Replace each code block with a short spoken description of what it does and why it's used.

Links (must NOT be read as URLs):
- Never include raw URLs in the script.
- Replace each link with a short spoken description using this format:
  "The article includes a link to [site or brand] that explains [what it's about in one short sentence]."
- The one-sentence summary should be tight and literal. Use the anchor text and the surrounding sentence for meaning.
- If you cannot confidently infer what the link contains, say:
  "The article includes a link to [site or brand] for more details on this update."

Content fidelity rules:
- Do not invent new claims.
- Do not add new examples that weren't implied by the post.
- Do not remove important ideas. Only compress where reading aloud would be painful (like code, raw URLs, or overly long lists).
- Preserve the author's tone (casual, technical, skeptical, etc.) as long as it still reads well aloud.

Structure rules:
- Keep the title and date at the top (spoken-friendly).
- Keep headings, but make them read naturally.
- Keep the original order of sections.
- If the post includes a call to action, keep it.

Now wait for the blog post text and optional media/link context, then generate the final audio script following all rules above
Now produce the final narration script.
Step 5: Create the audio in ElevenLabs Studio (Text to Speech)
Now take the narration script into ElevenLabs Studio.
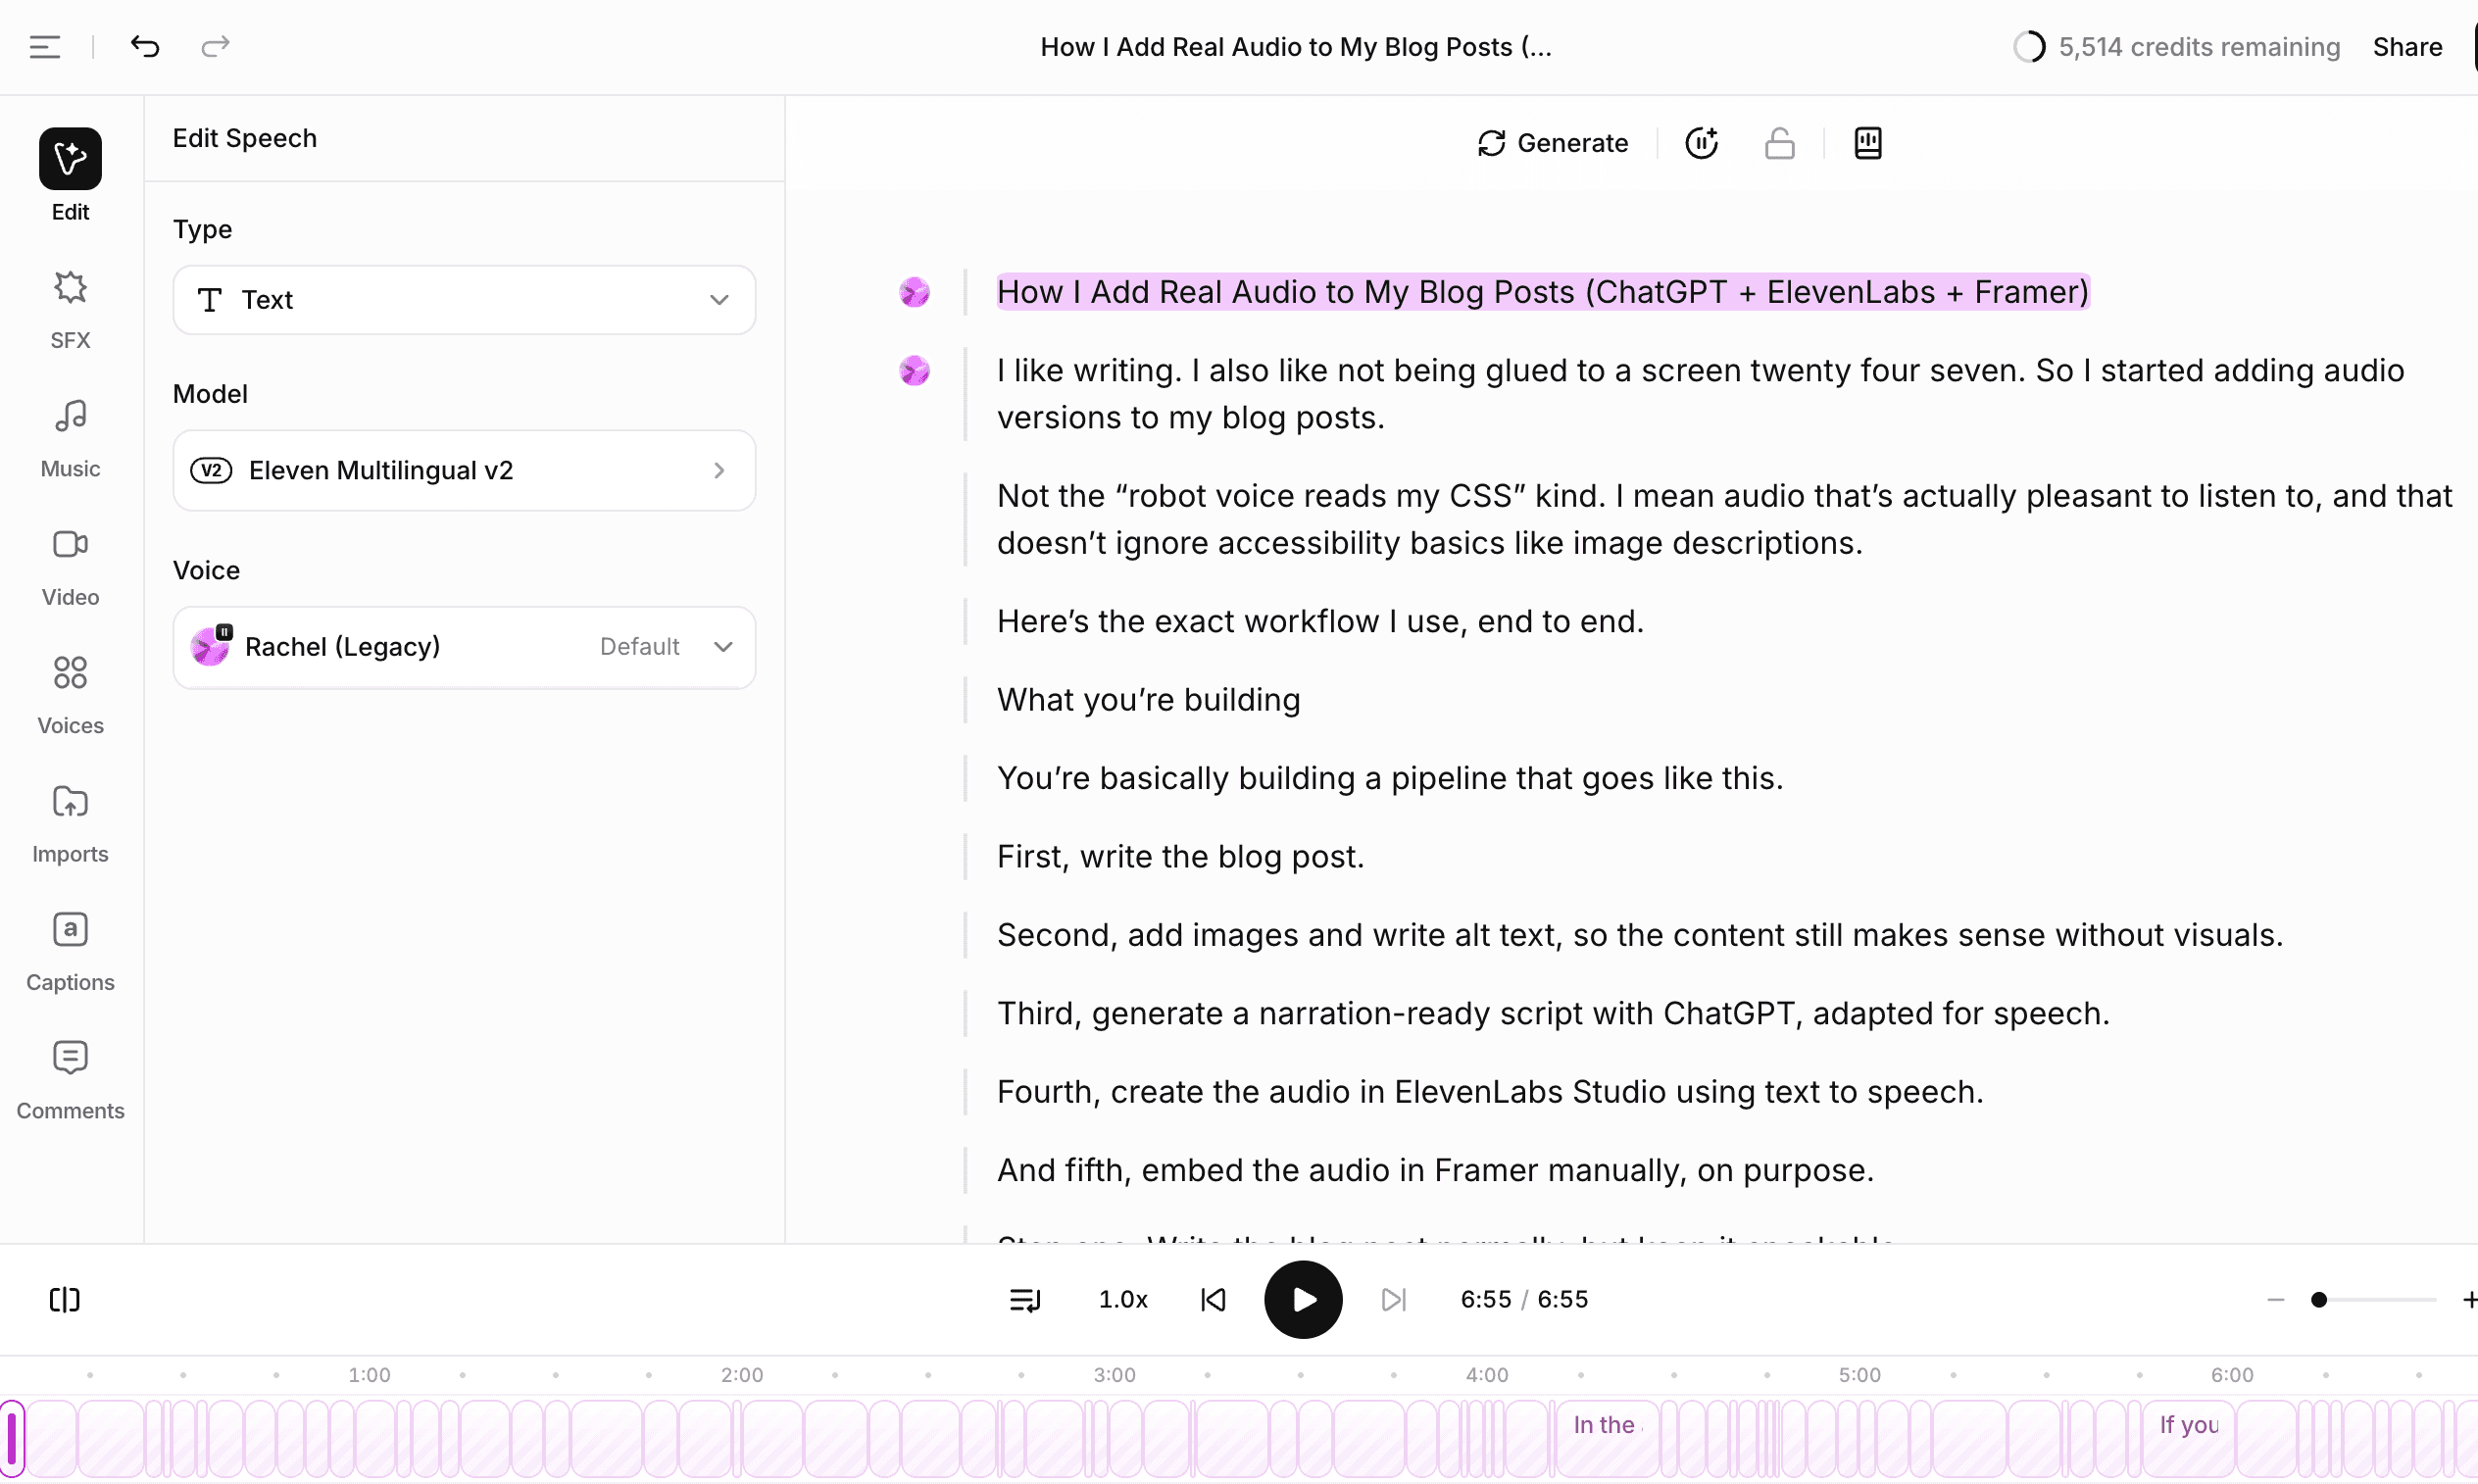
My workflow:
Create a new project named after the blog post
Choose Text to Speech
Paste the script
Pick the voice
Listen once at 1x speed, then fix the obvious problems:
weird pronunciations (brand names, acronyms)
awkward rhythm (sentences that are too long)
repeated phrases that sound “generated”
TTS is not “set it and forget it.” It’s “set it, then do one human pass.”
Step 6: Add the audio to Framer manually (on purpose)
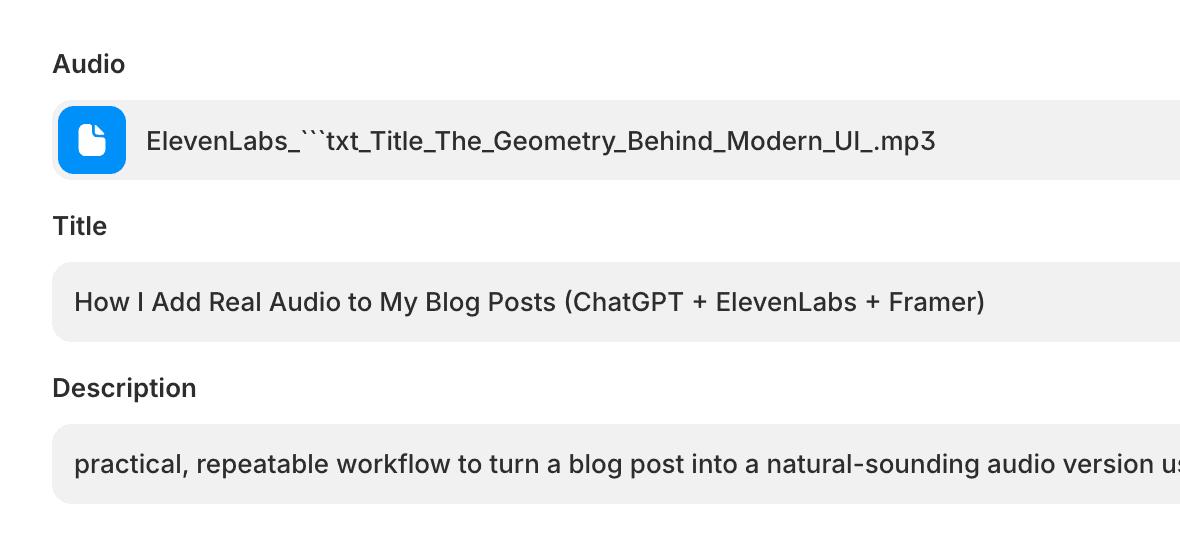
I embed the audio manually in Framer because I want the experience to feel intentional, and I want the quality to stay consistent.
A simple approach:
Add a “Listen to this article” button near the top of the post
Embed an audio player (or your preferred audio component) using the final MP3
Don’t autoplay. Seriously. Don’t.
If you want tracking, track the play action (and optionally 25%, 50%, 75%, 100% progress). Otherwise you’ll have no clue if people actually use the feature. Oh, and please set up the download button so it only shows if there is a file set on the entry, you won't want all your blog posts showing empty download buttons.
Quick QA checklist before publishing
Links are described, not read as URLs
Code is explained, not spoken
Each image has an alt, and the script mentions the image where it appears
The audio sounds good at normal speed
No weird repeated phrases or “perfectly uniform” rhythm
The “Listen” entry point is visible, but not screaming for attention
The PDF at the end of this article
Below please find a PDF with the exact prompt, formatting rules, and a couple short examples (links, code, images) so you can reuse the workflow without rethinking it every time. I recommend uploading it to your LLM (like ChatPGT, Claude, etc) so they can act as needed.